How to Blend Colors Like a Pro in Procreate
Blending colors smoothly is an essential skill in digital painting, helping you create soft gradients, realistic shading, and rich, vibrant artwork. In Procreate, mastering blending involves using different brushes, opacity adjustments, and the Smudge tool effectively. In this tutorial, we’ll break down blending techniques step by step, with helpful visuals to guide you!
Joe Pearlman
3/26/20253 min read

Step 1: Understanding Blending in Procreate
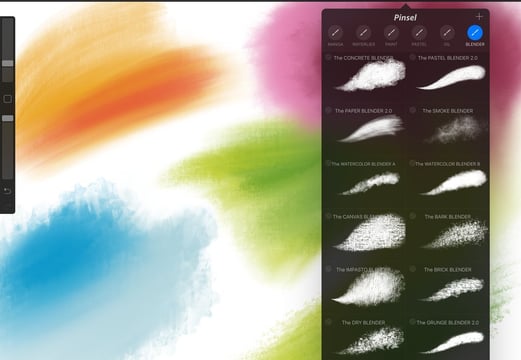
Unlike traditional painting programs that have a built-in "blend" tool, Procreate relies on brush-based blending techniques to create smooth transitions between colors. Here are the three main methods we’ll explore:
Using the Smudge Tool
Layering with Low Opacity Brushes
Using Soft and Hard Edge Brushes for Controlled Blending
Step 2: Using the Smudge Tool for Smooth Blending
The Smudge tool is Procreate’s primary blending feature. It allows you to soften edges and create smooth gradients between colors.
How to Use the Smudge Tool:
Tap on the Smudge tool (finger icon) at the top of your toolbar.
Choose a soft brush from the Airbrushing or Painting categories.
Adjust the Strength of the smudge tool (top opacity slider).
Gently swipe between two colors to blend them seamlessly.
Tip: Use a low-strength smudge for subtle blending and a higher-strength smudge for bold effects.
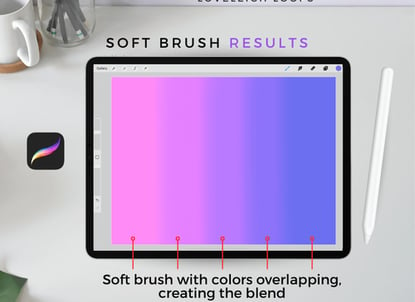
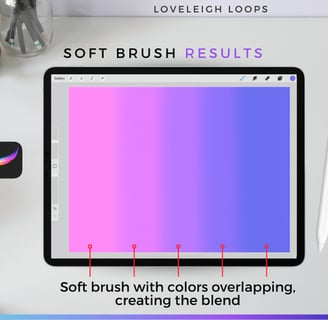
Step 3: Layering with Low Opacity Brushes
For realistic skin shading, soft lighting, or atmospheric effects, using low-opacity brush strokes is an effective technique.
How to Blend Using Opacity Brushes:
Select a soft round brush (from the Airbrushing or Painting brush sets).
Lower the opacity of the brush (found in the brush settings or by adjusting the pressure sensitivity).
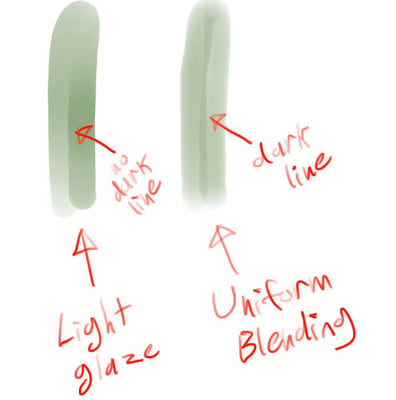
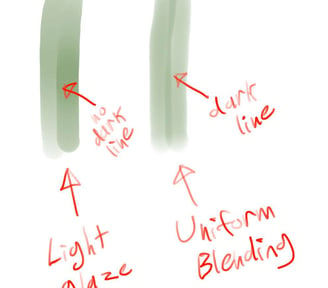
Lightly apply overlapping strokes between two colors to create a smooth gradient.
Tip: Layering multiple strokes instead of pressing hard with one stroke creates a more natural blend.
Step 4: Using Soft & Hard Edge Brushes for Controlled Blending
Not all blending needs to be soft and smooth—sometimes, you want a mix of hard and soft edges for more depth and realism.
How to Blend with Soft & Hard Brushes:
Use a soft airbrush for large, smooth color transitions.
Use a hard round brush for defining edges and sharper details.
Switch between soft and hard brushes to refine your blending in specific areas.
Tip: For skin tones, start with a soft brush and use a harder brush for subtle textures like pores or highlights.
Step 5: Advanced Blending Techniques for a Professional Look
Once you're comfortable with basic blending, try these pro techniques to take your blending to the next level:
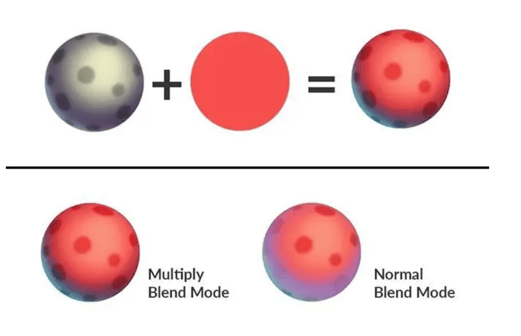
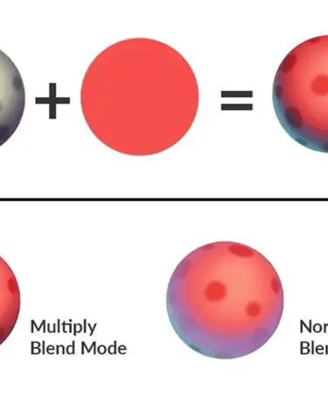
1. Color Dodge & Multiply for Depth
Use Multiply layers for shadows and Color Dodge layers for highlights.
This adds depth without making colors look muddy.
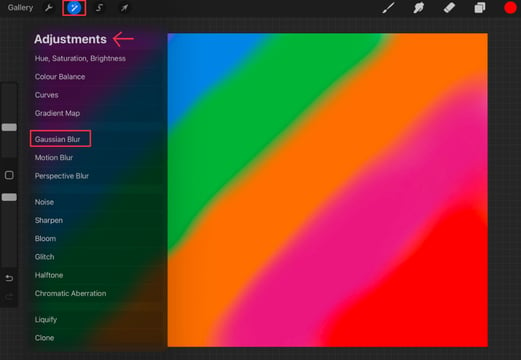
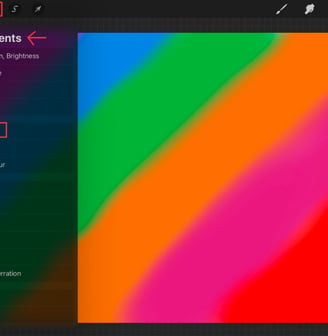
2. Gaussian Blur for Instant Smooth Blends
Go to Adjustments > Gaussian Blur and slide to blend colors instantly.
Works great for backgrounds and soft gradients.
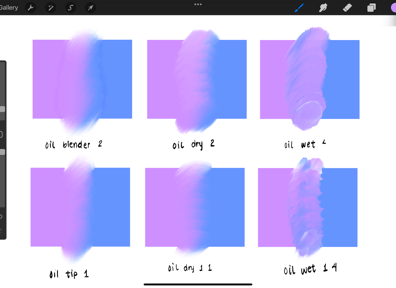
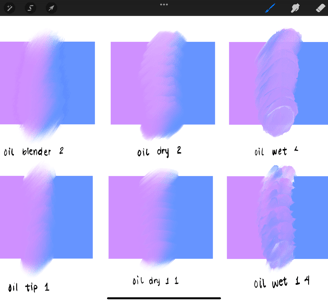
3. Textured Brushes for Painterly Blending
Use brushes with grain or texture for a more organic, traditional look.
Great for oil painting effects and stylized art.
Final Thoughts: Mastering Color Blending in Procreate
Blending in Procreate is all about practice and experimentation. Try different methods, mix techniques, and find what works best for your art style!
Practice Tip: Try blending three colors together using all three techniques above and see which works best for your workflow!

Support my work Through Your Generosity
Help us promote more articles and tutorials by donating today for access to our tutorial resources.
Join us in making a difference.
★★★★★